
How to create a React form (with validation)
Build a React contact form with no backend. Copy-paste examples for a plain HTML form, a fetch submission with success and error states, validation with React Hook Form and Zod, and the React 19 form action with useActionState.
FormBackend is perfect for static sites and single-page apps. This guide shows you how to add a React contact form that collects submissions and emails you on every new one — without writing or hosting any backend code.
We’ll start with a plain HTML form (which already works on its own), enhance it to submit
with JavaScript so users stay on the page, then add client-side validation with React Hook
Form and Zod — and finish with the React 19 form action and useActionState.
Create a new React app
We’ll start with the basics and assume you don’t have an existing React app. If you do, you can proceed to the next section.
The recommended way to start a new React project is with Vite. Run the following in your terminal:
npm create vite@latest formbackend-react -- --template react
formbackend-react is the directory of the app and can of course be whatever you’d like.
Let’s go to the directory and install dependencies:
cd formbackend-react
npm install
Start the development server:
npm run dev
Your browser should open with http://localhost:5173 loaded, which is the development server.
Create a new form in FormBackend
Log in to your FormBackend account and visit the forms index page. Go ahead and create a new form and give it a name you can remember it by.
After your form has been created, you’ll see the “Submissions” page which is where new submissions will appear. If you navigate to the “Set up” page you can see the unique URL for your form. We’ll copy that!
Create your react form
Now that we have our endpoint in FormBackend we can go ahead and hook it up to a form in React.
Open the file src/App.jsx and replace it with
import './App.css';

function App() {
  return (
    <form action="https://www.formbackend.com/f/your-form-id" method="POST">
      <div className="fieldset">
        <label htmlFor="name">Name</label>
        <input type="text" id="name" name="name" required />
      </div>

      <div className="fieldset">
        <label htmlFor="email">Email</label>
        <input type="email" id="email" name="email" required />
      </div>

      <button type="submit">Submit</button>
    </form>
  );
}

export default App;
Replace your-form-id with the unique URL from your form’s “Set up” tab. Note the
JSX-specific attributes: className instead of class, and htmlFor instead of for —
class and for are reserved words in JavaScript, so React uses these alternatives.
If you go back to the browser it should look like this
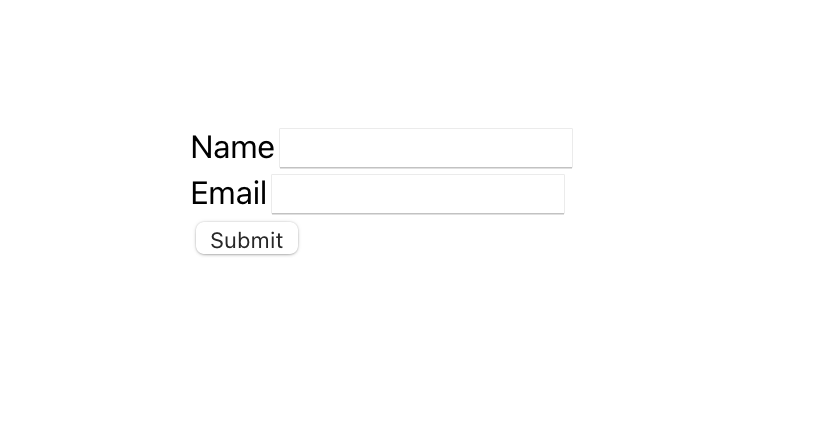
Let’s add some simple styling by replacing the content of src/App.css with this
body { font-family: Arial, Helvetica, sans-serif; }

.fieldset + .fieldset,
form + form {
  margin-top: 8px;
}

label {
  color: #334155;
  display: block;
  font-size: 87.5%;
  font-weight: bold;
  text-transform: uppercase;
}

input,
textarea,
select {
  border: 1px solid #ddd;
  color: #475569;
  font-size: 100%;
  padding: 5px;
  border-radius: 4px;
}

button[type="submit"] {
  background: purple;
  background: #14b8a6;
  border: none;
  box-shadow: none;
  color: white;
  border-radius: 2px;
  font-size: .8rem;
  text-transform: uppercase;
  font-weight: 500;
  padding: 8px 12px;
  margin-top: 16px;
}
You should now have a form that looks a litlte nicer
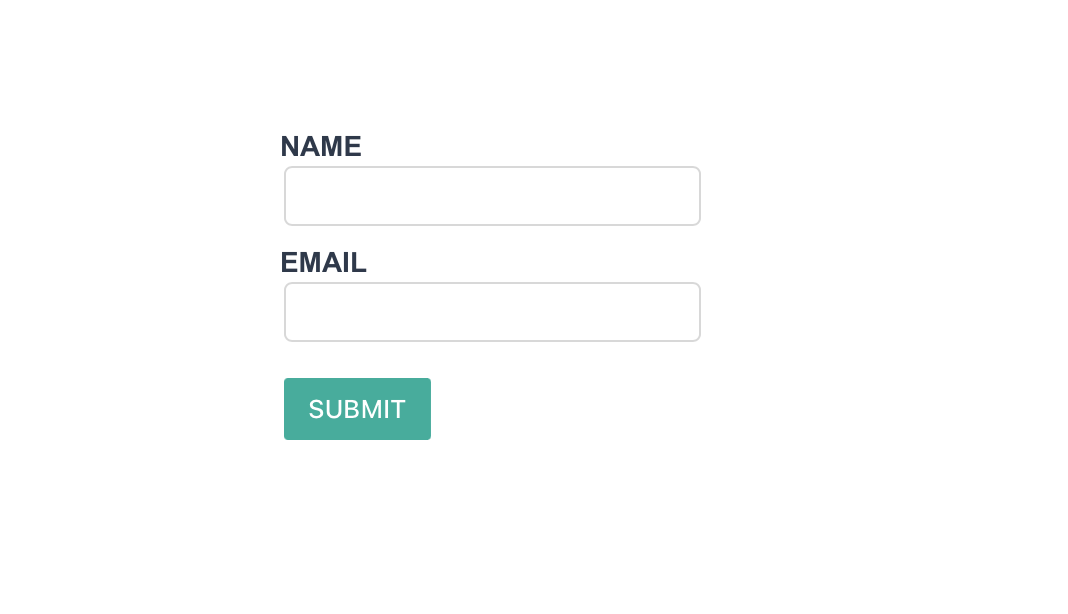
After filling it out and hitting the submit button, you’ll be taken to FormBackend’s submission success page and if you navigate to the Submissions page for the form you created in FormBackend you should see the submission you just added.
Submit without a page refresh
The form above works on its own, but it redirects the user to FormBackend’s thank-you
page. For a smoother experience, submit it with JavaScript so the user stays on the page
and sees an inline confirmation. Update src/App.jsx:
import { useState } from 'react';
import './App.css';

function App() {
  const [status, setStatus] = useState('idle');

  async function handleSubmit(event) {
    event.preventDefault();
    setStatus('submitting');

    const form = event.currentTarget;
    const response = await fetch(form.action, {
      method: 'POST',
      body: new FormData(form),
      headers: { accept: 'application/json' },
    });

    if (response.ok) {
      form.reset();
      setStatus('success');
    } else {
      setStatus('error');
    }
  }

  if (status === 'success') {
    return <p>Thanks! Your message has been sent.</p>;
  }

  return (
    <form
      action="https://www.formbackend.com/f/your-form-id"
      method="POST"
      onSubmit={handleSubmit}
    >
      <div className="fieldset">
        <label htmlFor="name">Name</label>
        <input type="text" id="name" name="name" required />
      </div>

      <div className="fieldset">
        <label htmlFor="email">Email</label>
        <input type="email" id="email" name="email" required />
      </div>

      <button type="submit" disabled={status === 'submitting'}>
        {status === 'submitting' ? 'Sending…' : 'Submit'}
      </button>
      {status === 'error' && <p>Something went wrong — please try again.</p>}
    </form>
  );
}

export default App;
A few things worth noting:
- Calling
event.preventDefault()stops the browser’s default full-page submission. - The browser’s built-in
FormDatareads every field straight from the form, so you don’t need a piece ofuseStateper input — the inputs stay uncontrolled. - The
accept: application/jsonheader tells FormBackend to return JSON instead of an HTML page, so you can react to the result in code. - Because the
<form>still has a validactionandmethod, it keeps working even if JavaScript fails to load — progressive enhancement for free.
Validate the form with React Hook Form and Zod
Client-side validation gives people instant feedback before they submit. The most popular way to do it in React is React Hook Form paired with a Zod schema, which keeps your rules in one place and renders a message under each invalid field. Install the three packages:
npm install react-hook-form zod @hookform/resolvers
Then wire them into src/App.jsx:
import { useForm } from 'react-hook-form';
import { z } from 'zod';
import { zodResolver } from '@hookform/resolvers/zod';
import './App.css';

const schema = z.object({
  name: z.string().min(1, 'Please enter your name'),
  email: z.string().email('Please enter a valid email'),
  message: z.string().min(1, 'Please enter a message'),
});

function App() {
  const {
    register,
    handleSubmit,
    reset,
    formState: { errors, isSubmitting, isSubmitSuccessful },
  } = useForm({ resolver: zodResolver(schema) });

  async function onSubmit(data) {
    const body = new FormData();
    Object.entries(data).forEach(([key, value]) => body.append(key, value));

    await fetch('https://www.formbackend.com/f/your-form-id', {
      method: 'POST',
      body,
      headers: { accept: 'application/json' },
    });

    reset();
  }

  if (isSubmitSuccessful) {
    return <p role="status">Thanks! Your message has been sent.</p>;
  }

  return (
    <form onSubmit={handleSubmit(onSubmit)} noValidate>
      <div className="fieldset">
        <label htmlFor="name">Name</label>
        <input id="name" aria-describedby={errors.name ? 'name-error' : undefined} {...register('name')} />
        {errors.name && <p id="name-error" role="alert">{errors.name.message}</p>}
      </div>

      <div className="fieldset">
        <label htmlFor="email">Email</label>
        <input id="email" type="email" aria-describedby={errors.email ? 'email-error' : undefined} {...register('email')} />
        {errors.email && <p id="email-error" role="alert">{errors.email.message}</p>}
      </div>

      <div className="fieldset">
        <label htmlFor="message">Message</label>
        <textarea id="message" aria-describedby={errors.message ? 'message-error' : undefined} {...register('message')} />
        {errors.message && <p id="message-error" role="alert">{errors.message.message}</p>}
      </div>

      <button type="submit" disabled={isSubmitting}>
        {isSubmitting ? 'Sending…' : 'Submit'}
      </button>
    </form>
  );
}

export default App;
zodResolver runs your schema on submit, errors holds any messages to show, and
isSubmitting/isSubmitSuccessful drive the button and the thank-you state. Each error is
linked to its input with aria-describedby and role="alert" so screen readers announce it.
Client-side checks are for UX only — FormBackend also validates on its end, so a bot that skips
your JavaScript can’t push junk through.
React 19: the form action and useActionState
React 19 added a built-in way to handle forms: pass a function straight to a <form>‘s action
prop and read its pending and returned state with
useActionState. It works in any React 19
app — Vite included, not just Next.js:
import { useActionState } from 'react';
import './App.css';

const initialState = { ok: false, error: null };

async function submitContact(previousState, formData) {
  const response = await fetch('https://www.formbackend.com/f/your-form-id', {
    method: 'POST',
    body: formData,
    headers: { accept: 'application/json' },
  });

  if (!response.ok) {
    return { ok: false, error: 'Something went wrong — please try again.' };
  }

  return { ok: true, error: null };
}

function App() {
  const [state, formAction, isPending] = useActionState(submitContact, initialState);

  if (state.ok) {
    return <p role="status">Thanks! Your message has been sent.</p>;
  }

  return (
    <form action={formAction}>
      <div className="fieldset">
        <label htmlFor="name">Name</label>
        <input type="text" id="name" name="name" required />
      </div>

      <div className="fieldset">
        <label htmlFor="email">Email</label>
        <input type="email" id="email" name="email" required />
      </div>

      <button type="submit" disabled={isPending}>
        {isPending ? 'Sending…' : 'Submit'}
      </button>
      {state.error && <p role="alert">{state.error}</p>}
    </form>
  );
}

export default App;
useActionState hands back the latest value your action returned, the formAction to pass to
the form, and an isPending flag — no manual useState plumbing. In a framework with Server
Actions like Next.js you can run this same function on the server; see the
Next.js form guide for that version.
What to set up next
Now that your React form is collecting submissions, here are a few things worth configuring in FormBackend:
- Email notifications: Get an email every time someone submits your form, with optional file attachments
- Auto-reply emails: Send an automatic confirmation to the person who submitted
- Spam filtering: All submissions are checked for spam automatically, but you can add Cloudflare Turnstile or reCAPTCHA for extra protection
- Integrations: Forward submissions to Slack, Google Sheets, Discord, or any service via webhooks
- Custom thank-you page: Customize what users see after submitting, or redirect them to a page on your site
Looking for other frameworks? See our guides for Next.js, Vue.js, Gatsby, Svelte, and more.
Frequently asked questions
Do I need a backend for a React contact form?
No. With FormBackend your React form posts directly to a hosted endpoint, so there's no server, API route, or database to build. FormBackend stores every submission and emails you when one arrives.
How do I submit a React form without a page refresh?
Add an onSubmit handler that calls event.preventDefault(), then send the form's data with fetch using the browser's built-in FormData. Set the accept header to application/json so FormBackend returns JSON instead of an HTML page. A complete example is shown above.
Why use className instead of class in a React form?
JSX is JavaScript, where class is a reserved word, so React uses className for the CSS class attribute and htmlFor instead of for on labels. Using class will trigger a warning and the attribute may be ignored.
How do I show a success message after the form is submitted?
Track a status value with useState (idle, submitting, success, error) and update it inside your submit handler. Render the form while idle and a confirmation message once the request succeeds.
Does this work with Vite, Create React App, and Next.js?
Yes. The form markup and the fetch submission are plain React, so they work in any React setup. Next.js has a few extra options like Server Actions — see the dedicated Next.js form guide.
How do I validate a React form?
Use React Hook Form with a Zod schema via the zodResolver. Define the rules once in the schema, register each input, and React Hook Form shows the matching message under each field and blocks submission on invalid input. A complete example is shown above. Keep server-side validation too — FormBackend validates on its end so a bot that skips your JavaScript can't send junk through.
Can I use the React 19 form action and useActionState?
Yes. React 19 lets you pass an action function straight to a form's action prop and read the pending and returned state with useActionState. It works in any React 19 app, not just Next.js. An example is shown above; for Server Actions specifically see the Next.js form guide.
How do I add spam protection to a React form?
FormBackend filters spam automatically. For stronger protection add Cloudflare Turnstile, reCAPTCHA, or hCaptcha, or include a hidden honeypot field. See the spam filtering guides for setup.
Keep reading
How to add a form to your Gatsby site
Add a contact form to your Gatsby site with no backend. A complete React example that submits with fetch, shows an inline success message, and reports errors accessibly.
How to create a form in Astro (with Astro Actions)
Add a contact form to your Astro site with no backend. Copy-paste examples for a plain HTML form, a JavaScript submission with an inline thank-you, and the modern Astro Actions approach with server-side Zod validation.
How to create a Vue.js contact form (with validation)
Build a Vue.js contact form with no backend. Copy-paste examples for a plain form, a Vue 3 script-setup submission, two-way binding with v-model, and validation with VeeValidate and Zod.
Add a form backend to your site in minutes
Connect any HTML form to FormBackend and start collecting submissions — no backend code required.
Start free